Back in My Studio – Self-Portrait Using Image Transfer
This week I’m inviting you into my studio for another version of a mixed-media self-portrait. This time I’m going to show you how to create a portrait using an image transfer on a background I had created with the leftover paint from the last self-portrait. I will, once again, use only three primary colors plus white and black. Feel free to use other colors if you want, but my point here is to show just how easy it is to create with minimal supplies. I want art and creativity to be accessible to all.
Gather your materials!
If you don’t have a premade background, create one on any desired surface. I’m using the mixed media paper I’ve used in previous portraits painted with the leftover paint. Feel free to add collage elements or stamps to give the background some character.

Make a photocopy of your desired portrait photograph. I’m using the same one I’ve used for the previous demonstrations just for the sake of comparison. The copy can be made on just regular weight copy paper.

You will need some way to transfer the photo to the background. I am using graphite paper. You can also use carbon paper or even apply pencil to entirely cover the back of the photograph.

Transfer the Image!
Use tape to adhere the top side of your photograph to the background. I used painter’s tape as it is easy to remove without damaging the underlying paper.
Place the graphite or carbon paper under the image. If you applied pencil graphite to the entire backside of the photograph, skip this step.

Using a sharp pencil or pen, trace the outlines and key elements of the photograph. You will want to lift the papers and check underneath to see if the image is transferring properly. I started out with a colored pencil, but it didn’t provide enough pressure to adequately transfer, so I switched to a regular ballpoint pen. Use something that you can see the color to know that you’ve traced everything.

Once you’ve completed the tracing, you should have an image that looks similar to this one:

Mixing the Colors
This process is created using acrylic paints. No need to purchase artist’s grade paint. Use what you have or, if needed, buy student grade paints. Make sure they are the heavy bodied variety. The colors you will need are a blue, yellow, red, and white. If your skin tone leans darker, add a black into the mix.
Place equal amounts of the red, blue, and yellow, white, and black (if needed) on your mixing surface. Mix some of the red, yellow, and blue together. White and black will be used to lighten or darken the resultant skin tone. You should have a dark brown color. Play with adding white. If the color feels off, try adding a little more of one of the primary colors to see the results. Need a pinker tone? Add some red. Too red? Add a small amount of blue and yellow. The possibilities are nearly endless. One tip is to hold your forearm next to the mixed paints to check for accuracy. You should have a range of colors available on your mixing surface to use for the next step.

Start Painting
This technique requires a bit more skill since you will not be painting directly on the photo. Keep your reference photo hand to use as a guide for applying the paint. You might want to have a color version available as well.
A good general rule for portraits is that the face is essentially divided into three bands: the forehead, the area encompassing the eyes and nose, and the lower face. The forehead tends to be more yellow. The eyes and nose area leans towards red. The lower face and shadows have blue and green tones.
Start with the shadow areas, using the darker of your skin tone mix. Block in the eyes and nose as they are formed by the shadows.

Addd the midtones, blending them into the shadow areas.

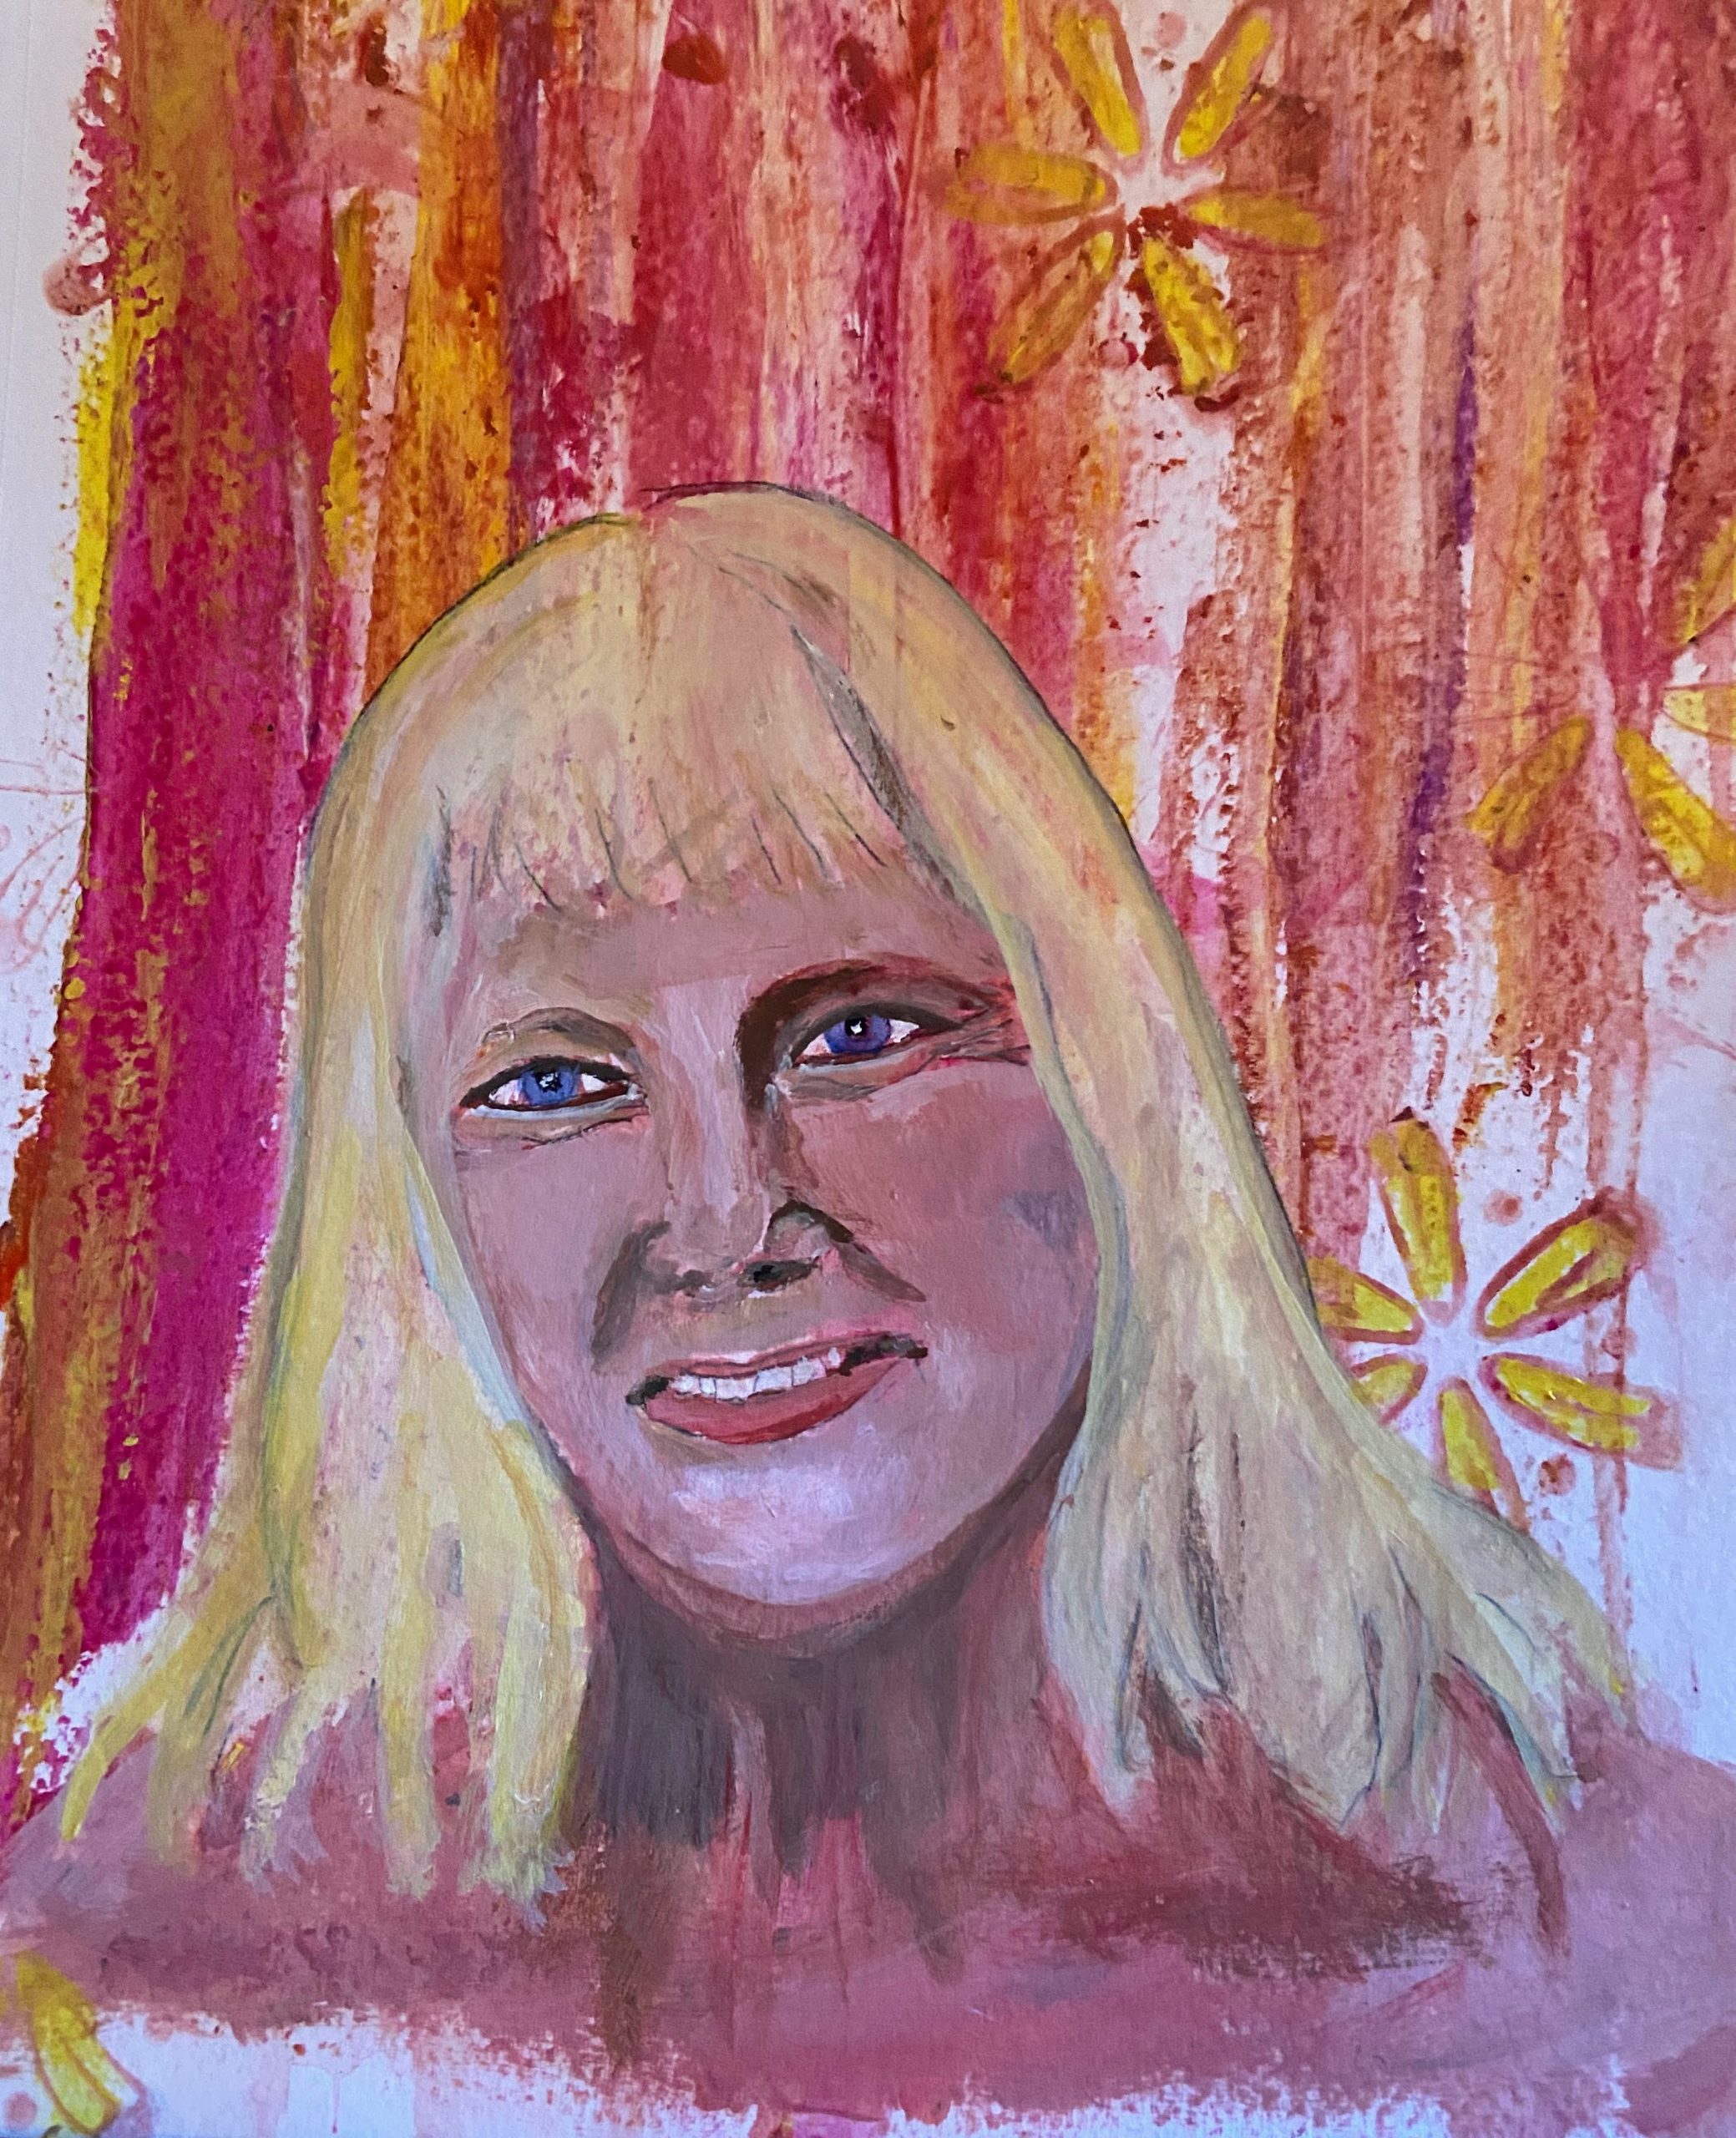
Add the lip color and a redder tone to the cheeks. Add highlights to the nose, forehead and chin. Finally, add the eye color and hair.

I had some leftover paint, so I colored in some of the stenciled flowers. Easy, peasy, right?
Feel free to sign up for a free set of journal coloring pages. By signing up, you can receive additional tips and techniques in your email and you can cancel at any time.